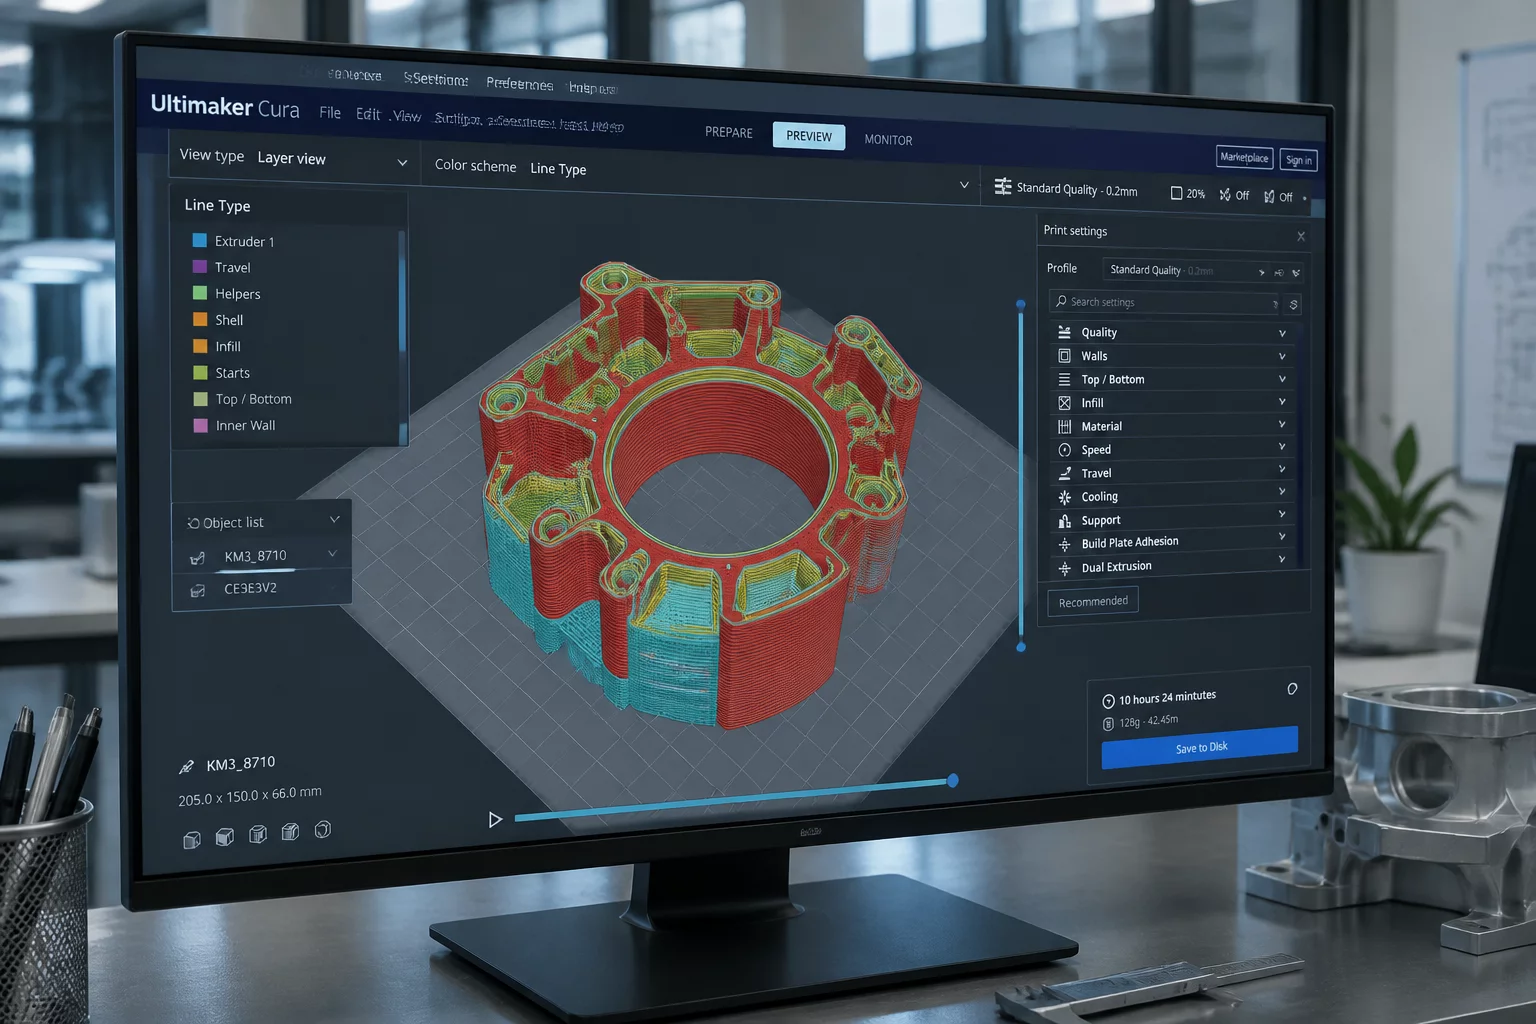
Critical questions for evaluating resin print quality, structural limits, and post-curing workflows in team environments.
In high-precision 3D printing workflows, establishing clear acceptance criteria before commencing a production run is vital for team consistency. When teams utilize the CHITUBOX v3.1.0 unified application, or its specialized editions like CHITUBOX Pro v3.2.0 and Basic v3.3.0, they need a structured sequence of questions to determine if a cured resin part meets both aesthetic and mechanical requirements. By formalizing this evaluation, teams reduce subjective disagreements and minimize waste.
1. Defining the Intended Outcome
Before inspecting the first layer, the team must define the primary function of the printed part. Is it a visual prototype, a mechanical component, or a high-temperature mold? For instance, when utilizing Tethon 3D C-Lite high-temperature resin, which resists temperatures up to 225 °C, the primary outcome is thermal endurance. In contrast, standard resins may focus purely on visual fidelity or tensile strength. Establishing this intended outcome dictates which post-curing and slicing parameters in CHITUBOX receive the closest scrutiny.
2. Functional and Structural Criteria
Mechanical parts demand strict adherence to dimensional tolerances. Teams should ask whether mating features, thread pitches, and load-bearing walls fall within acceptable limits. Using CHITUBOX Pro v3.2.0, developers can fine-tune tolerance compensation settings to offset the natural shrinkage that occurs during UV post-curing. The inspection team must check if the component fits its assembly housing without binding, cracking, or requiring excessive manual sanding.
3. Visible and Surface Criteria
Surface aesthetics are critical for customer-facing enclosures and artistic models. The team must inspect the part for visible layer lines, pixelation artifacts from the LCD screen, and blemishes left by support structures. Standardizing the vocabulary for these surface reviews—identifying terms like pitting, delamination, or ghosting—helps technicians communicate slicing modifications. For instance, adjusting the lift speed or light-off delay in CHITUBOX Basic v3.3.0 can directly resolve repetitive surface rings.
4. Fine-Feature Review
Micro-channels, thin walls, and sharp text require specialized evaluation rules. The team needs to verify if these fine features have resolved completely or if they suffered from over-exposure. Because the unified CHITUBOX v3.1.0 environment allows for precise exposure profiling, teams must document the exact settings used for delicate geometries to ensure that sub-millimeter elements do not merge or collapse during the printing process.
5. Batch Consistency
When transitioning from a single prototype to a multi-part batch, consistency is the goal. Teams must verify that the last printed part of a batch matches the first in color, weight, and curing state. Variations in ambient temperature, resin age, or exposure lamp degradation can introduce drift between the first and last prints. Documenting baseline measurements for each batch—weight, dimensional checkpoints, and shore hardness—creates a traceable record that simplifies future troubleshooting.
6. Acceptance Decision
The acceptance decision is the final gate before a part enters service. Teams should use a binary pass/fail system tied directly to the criteria defined above: dimensional tolerances, surface quality, fine-feature resolution, and batch consistency. A part either meets all thresholds or it does not. Borderline cases should trigger a secondary review by a senior inspector rather than subjective debate on the shop floor. Documenting the decision—along with the specific criteria that passed or failed—creates an audit trail for continuous improvement.
7. Unresolved Limitations
Not every defect can be eliminated. Minor cosmetic support scars on non-functional faces, slight color variation in transparent resins, or micro-pitting on hidden surfaces may be acceptable if they do not compromise function. These unresolved limitations should be cataloged explicitly so that the post-processing team knows which blemishes are within tolerance and which require a complete reprint. Maintaining a living register of known limitations prevents repeated discussions and accelerates future acceptance decisions.
8. Final Handoff
The final handoff transfers responsibility from the printing team to the end user or assembly team. A handoff checklist should accompany every batch: cured part condition, post-processing notes, known limitations, and acceptance decision records. Fragile parts require additional documentation specifying handling constraints, storage conditions, and orientation requirements. A clear handoff ensures that downstream teams understand exactly what they are receiving and what quality level has been verified.
Core Evaluation Objectives
Establishing criteria prior to printing prevents subjective rejection loopbacks. When using unified slicers like CHITUBOX v3.1.0 (or basic editions), clear threshold parameters must align directly with the material characteristics. For instance, high-temperature formulations like Tethon 3D C-Lite require adjusted tolerances due to thermal expansion profiles up to 225 °C.
- Always perform dimensional calibration before batch inspection.
- Maintain uniform post-curing UV distribution to ensure physical integrity.
- Track feature deviations against structural limits defined below.

No comments yet. Be the first to leave a comment.