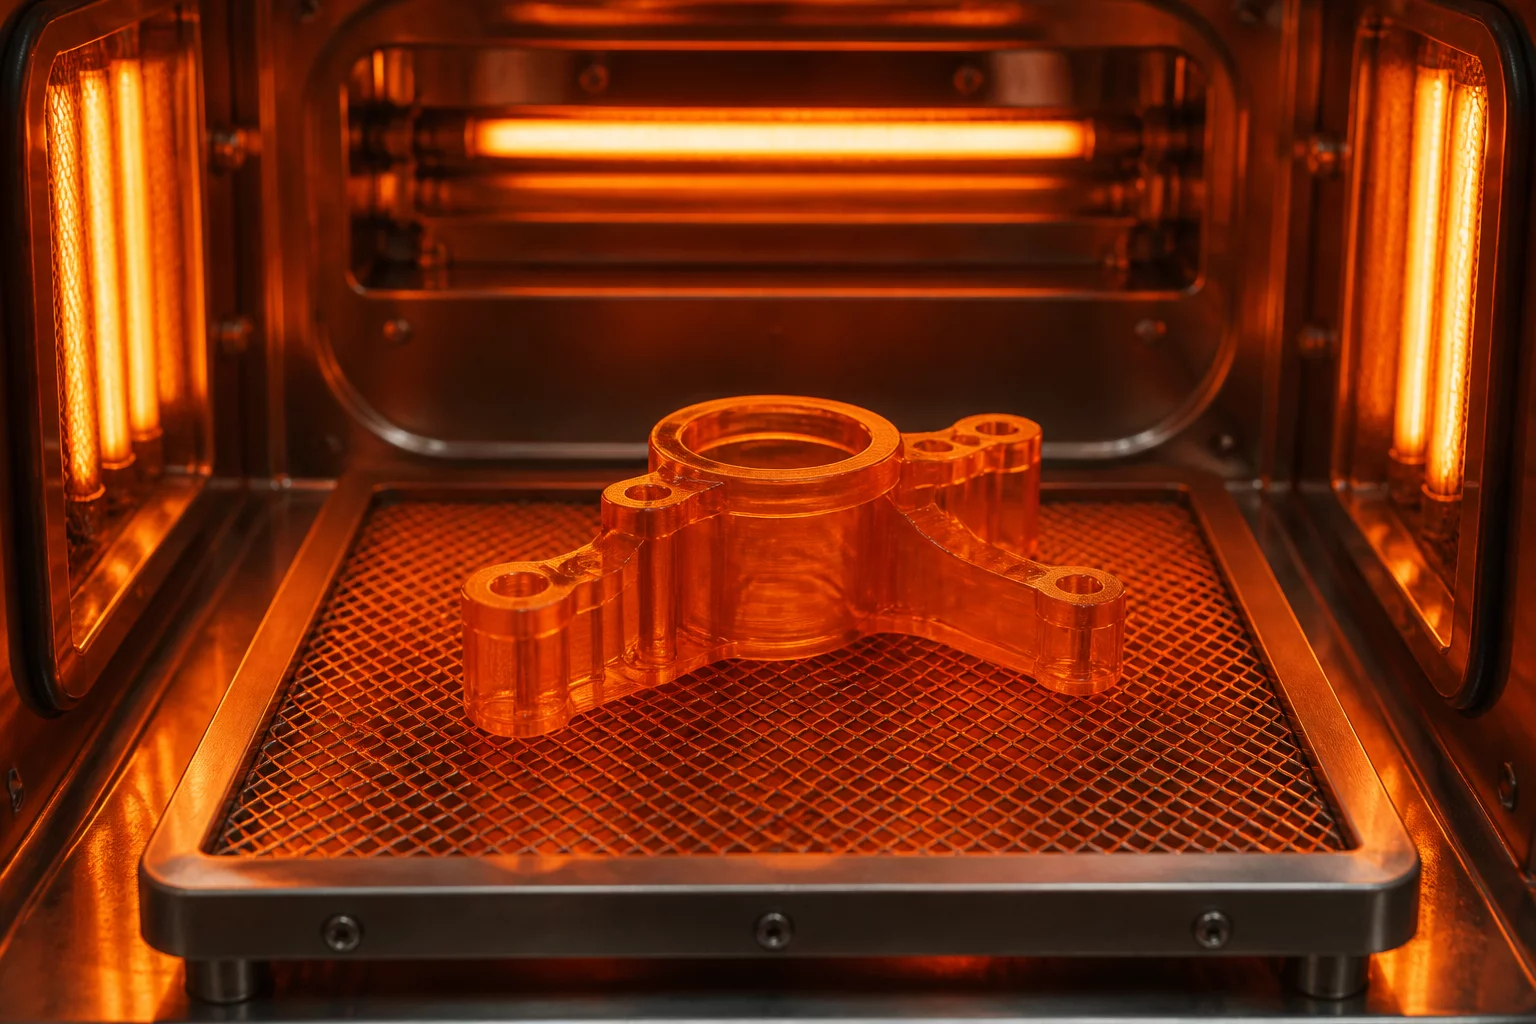
Mastering thermal resistance up to 225 °C requires precise pre-print slicing calibration and optimized UV post-curing schedules.
Working with specialized materials such as Tethon 3D C-Lite requires a strict thermal prep routine to ensure the printed parts withstand their rated temperature threshold of up to 225 °C. Standard SLA or DLP setups often fail to reach full cross-linking density without controlled exposure and thermal post-curing. To achieve the best mechanical and thermal results, we must adjust exposure times, maintain uniform resin temperature in the vat, and follow a multi-stage curing process.
Specifically, for Tethon 3D C-Lite, the optimal UV curing parameters require exposure at 405nm with a layer cure time roughly 1.5 to 2 times longer than standard rigid resins. Post-processing is where the high-temperature properties are unlocked. After a thorough wash in isopropyl alcohol (IPA) for no longer than 5 minutes to prevent swelling, parts must be dried completely. Follow this with a UV post-cure of 30 to 60 minutes in a 405nm chamber, and then execute a stepped thermal bake: ramp up from room temperature to 150 °C over 2 hours, hold for 1 hour, and cool down slowly to prevent thermal shock cracking.
Core Evaluation Objectives
Establishing criteria prior to printing prevents subjective rejection loopbacks. When using unified slicers like CHITUBOX v3.1.0 (or basic editions), clear threshold parameters must align directly with the material characteristics. For instance, high-temperature formulations like Tethon 3D C-Lite require adjusted tolerances due to thermal expansion profiles up to 225 °C.
- Always perform dimensional calibration before batch inspection.
- Maintain uniform post-curing UV distribution to ensure physical integrity.
- Track feature deviations against structural limits defined below.